
How to draught-proof your home
How to find where heat escapes, which gaps you can seal yourself, what a professional costs, Energy Saving Trust savings figures and which vents to leave open.
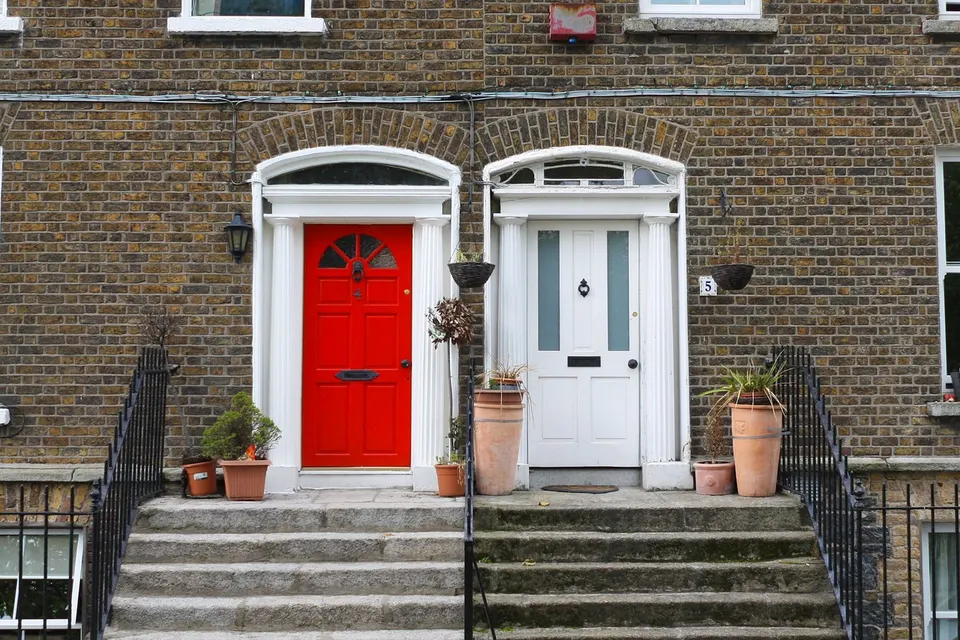
Draught-proofing is one of the cheapest home upgrades there is. It means sealing the gaps that let cold air in and warm air out, around windows, doors, floors, chimneys and pipes. Much of it is a weekend job with materials from a DIY shop. The one thing to get right is ventilation: some gaps are there on purpose and must stay open. This guide takes you through finding draughts, what to seal yourself, when to call a professional, and what it costs and saves.
Step 1: Find where the heat escapes
Draughts are easiest to find on a cold, windy day. The Energy Saving Trust suggests looking for daylight around doors and windows, listening for whistling, feeling for moving air with the back of your hand, and watching for curtains that move when windows are shut.
Work round the house and make a list. The usual places are:
- Windows: gaps where the opening part meets the frame.
- External doors: the edges, the gap underneath, the letterbox and the keyhole.
- Floors: gaps between floorboards and under skirting boards, especially with suspended timber floors.
- Chimneys: an open fireplace you do not use can pull warm air straight up the flue.
- Loft hatch: the gap round the edge of the hatch.
- Pipework: holes where pipes pass through walls, floors and ceilings.
Step 2: Know what must stay open
Before you seal anything, check your ventilation. Draught-proofing stops uncontrolled draughts; ventilation is the controlled airflow that keeps the air healthy and moisture down. The Energy Saving Trust is clear that good ventilation is still essential.
Leave these alone:
- Trickle vents in window frames, which should normally stay open.
- Wall vents and air bricks, including those that keep timber floors and joists dry.
- Extractor fans and their airflow in kitchens and bathrooms.
- Fixed vents for gas appliances. Never block ventilation for a flueless or open flue gas fire or heater, as it is needed for safe burning.
- Internal doors. The Energy Saving Trust says internal doors should not be draught-proofed, as air needs to move between rooms.
Rooms where moisture or fire safety need airflow, such as kitchens, bathrooms, utility rooms and rooms with open flues, should not be sealed up. If your home has no trickle vents, wall vents or mechanical ventilation at all, the Energy Saving Trust says it may already be too airtight for draught-proofing. Signs such as condensation on windows or mould are worth checking before you start.
Step 3: Seal the gaps yourself
Most of this is straightforward DIY. Based on Energy Saving Trust guidance:
- Opening windows. Fit draught strips around the frame. Self adhesive foam is cheap and easy but wears out quickly. Brush or wiper strips in metal or plastic cost more but last longer. Pick a strip that fills the gap: too thick and the window will not close, too thin and the draught stays.
- Fixed windows. Seal gaps with silicone sealant.
- Sash windows. Foam does not suit sliding sashes. Use brush strips, or ask a specialist.
- External doors. Fit a keyhole cover with a dropping metal disc, a letterbox flap or brush, a brush or hinged flap excluder along the bottom, and foam, brush or wiper strips round the edges.
- Floors and skirting. Use flexible filler for gaps between floorboards and under skirting boards.
- Pipes. Use silicone for small gaps and expanding foam for larger ones.
- Loft hatch. Fit draught strips round the edge.
- Unused chimney. Fit a chimney pot cap or a removable chimney draught excluder. If you ever light a fire, remove the excluder first.
Step 4: Decide whether you need a professional
DIY suits most modern homes. A professional may be worth considering if:
- you live in an older or traditional home, where the Energy Saving Trust says professional help is often needed
- you have sash windows
- the job involves lifting floors or working at height on chimneys
- you are unsure about your ventilation or gas appliances
The Energy Saving Trust suggests getting at least three quotes and considering an installer registered with TrustMark.
What it costs
The Energy Saving Trust puts professional draught-proofing of windows and doors at about £250 for a whole house. DIY is cheaper. Checkatrade's May 2026 ballpark averages, excluding VAT, are:
| Job | Typical cost |
|---|---|
| Window (strips or sealant) | £50 each |
| External door (seal, letterbox and keyhole covers) | £100 each |
| Chimney balloon or internal excluder | about £50 per chimney |
| External chimney pot cover | about £150 |
| Filling floorboard gaps in three average rooms | about £100 |
Sash window draught-proofing is specialist work and costs more.
What it saves
According to the Energy Saving Trust, draught-proofing windows, floors and doors could save about £55 a year in Great Britain, or £80 in Northern Ireland. Sealing an unused open chimney could save about £45 a year in Great Britain, or £60 in Northern Ireland.
Draught-proofing can also make a room feel warmer at the same thermostat setting, which may let you turn it down. The Energy Saving Trust says lowering the thermostat from 22°C to 21°C could save about £120 a year in Great Britain. These are estimates for a typical home; your savings depend on your home, your energy prices and how many draughts you had to start with.
To compare payback, divide what you spend by the yearly saving. Draught-proofing sits alongside bigger upgrades such as loft and cavity wall insulation and new windows, and is often done before or with them.
Common mistakes to avoid
- Blocking vents. Trickle vents, air bricks and appliance vents must stay clear.
- Sealing internal doors. Air needs to move round the house.
- Using the wrong strip. Too thick stops windows shutting; foam on sashes wears out fast.
- Forgetting the chimney excluder. Always remove it before lighting a fire.
- Ignoring damp. If you already have condensation or mould, sort the ventilation first.
Next steps
- Walk round on a windy day and list every draught.
- Check your vents, extractor fans and any gas appliances before sealing.
- Do the simple jobs first: doors, letterbox, keyhole and loft hatch.
- Get three quotes for anything you are unsure about.
For more ways to cut costs this winter, see our guide to cutting your winter energy bills. If you are planning bigger upgrades too, our home upgrades page explains how UK Experts Online can introduce you to a specialist.
Ready to talk to an expert?
With energy prices rising, the home improvements that pay their way are the ones that cut your bills. Tell us what you are considering and we will match you with approved installers, and help you check which grants and loans you could get.
Sources
- How to draught proof your windows and doors, Energy Saving Trust, 13 November 2026
- Cutting out draughts in older homes, Energy Saving Trust, 13 November 2026
- Draught proofing cost, Checkatrade, 1 May 2026
We check every figure and rule against official sources before publishing and update guides when things change. This guide explains how things work; it is not personal advice.
More home upgrades guides
Do solar panels pay back? How to work it out
A step by step way to estimate solar panel payback in 2026, using system cost, generation, self use, export payments and batteries, plus VAT and planning rules.

Energy efficient windows: ratings, costs and the rules
How window energy ratings work, double versus triple glazing, typical costs and savings, FENSA and CERTASS certificates, and conservation area planning rules.
Heat pumps explained: how they work and what they cost to run
How air and ground source heat pumps work, what they cost to run against gas at today's prices, and the checks on space, noise and radiators to do first.